 |
libvkdaq
VKINGING DAQ Library API Reference
|

|
|
libvkdaq
VKINGING DAQ Library API Reference
|
|


| data type | parameter | describe |
|---|---|---|
const char* |
task |
Task name(string type, for example"Task1") |
1 |
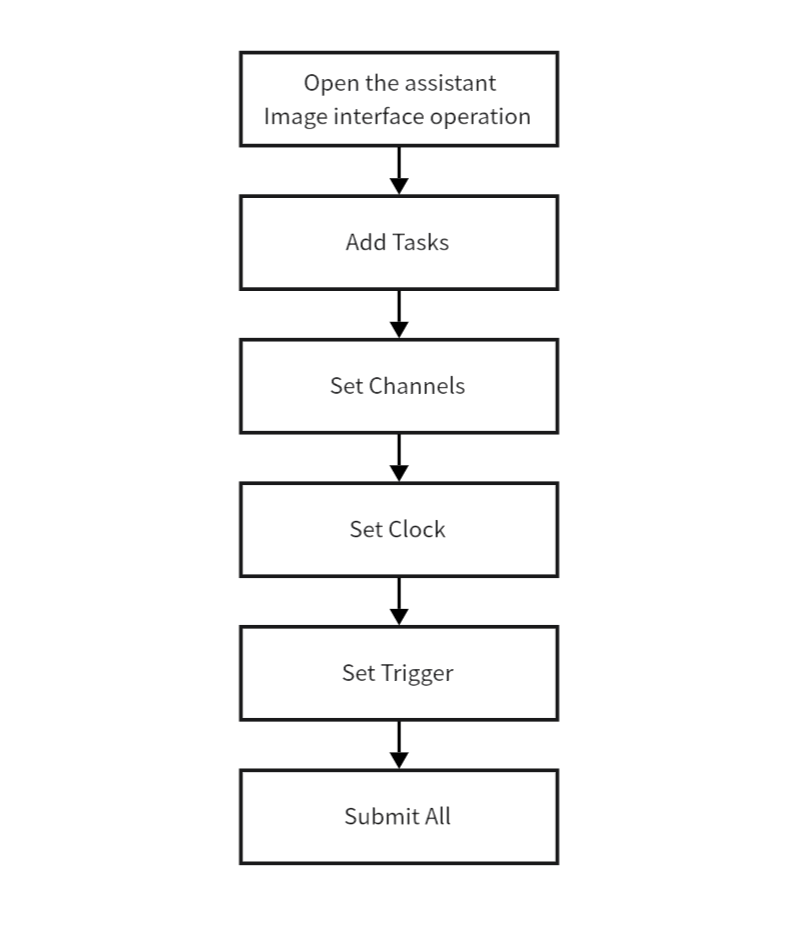
Click: Advanced Features |
Enter the interface for creating routine tasks. |
2 |
Click: Add |
A task creation dialog appears. |
3 |
Input: Task Name |
Enter the name of the task to be created. |
4 |
Click: Create |
Create the routine task. |
5 |
Click: Select Task |
Select the task to be configured. |
6 |
Click: Channels |
Proceed to channel configuration. |
7 |
Click: Add |
Open the channel editing dialog. After configuration, click OK. |
8 |
Click: Select Device |
Select the device(s) to be added to the task. Multiple devices can be selected. |
9 |
Click: Select Channel |
Select the channel(s) of the chosen device(s). Multiple channels can be selected. |
10 |
Click: Select Input Type |
Choose the physical signal input type for the selected channel. |
11 |
Click/Edit: Channel Configuration |
Based on the selected physical signal input type, further configure parameters such as maximum value, minimum value, unit, and terminal configuration for the channel. |
12 |
Click: Clock |
Enter the sampling clock configuration interface. |
13 |
Select: Clock Source |
Set the clock source. |
14 |
Select: Sampling Mode As |
Set the sampling mode. |
15 |
Enter: Sampling Rate |
Set the sampling rate. |
16 |
Enter: N Sample Size |
Set the N sample size. This setting takes effect only when the sampling mode is "Sampling Rate". |
17 |
Click: Trigger |
Enter the trigger-based sampling configuration interface. |
18 |
Select: Trigger Type |
Set the trigger type. |
19 |
Select: Trigger Source |
Set the trigger source. |
20 |
Select: Trigger Edge |
Set the trigger edge. |
21 |
Enter: Pre-trigger Sample Size |
Set the pre-trigger sample size. |
22 |
Click: Submit All |
Configure the routine task. Before configuring, please confirm that the current task configuration is the desired one. |
23 |
Click: YES |
The routine task has been configured successfully. |